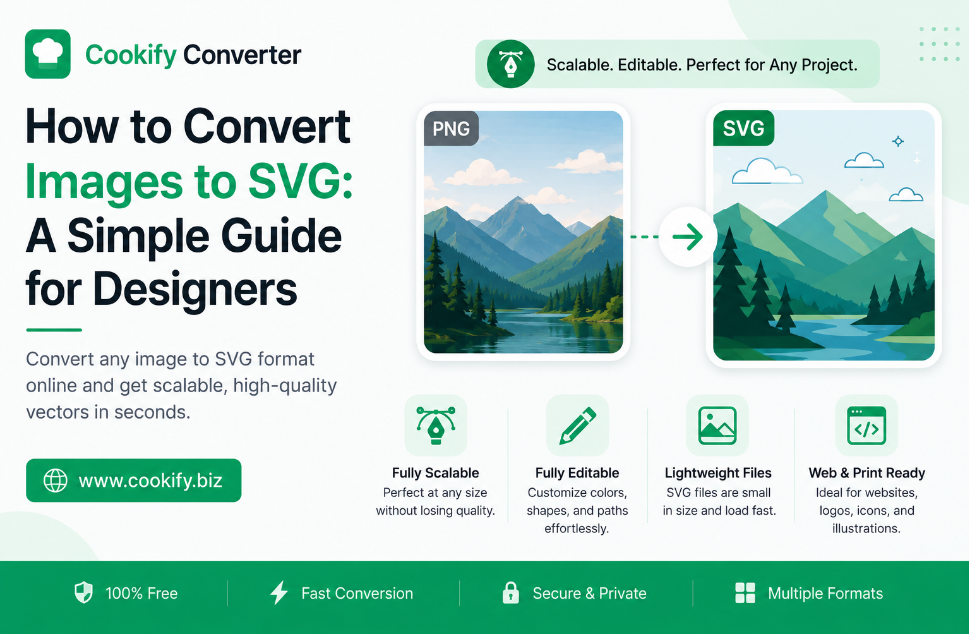
How to Convert Images to SVG: A Simple Guide for Designers
I remember the first time I tried to scale up a logo for a print project, only for it to turn into a blurry, pixelated mess. It was one of those "I should have known better" moments. After wasting an hour trying to fix it in design software, I realized that for anything that needs to scale — logos, icons, print materials — there's simply no substitute for a proper vector format like SVG.
If you've dealt with pixelated graphics when resizing an image, this guide covers what SVG actually is, when it's the right tool for the job, and how to convert your existing images into it.
Understanding SVG vs. Raster Images
Before converting anything, it helps to understand why this format behaves so differently from the images you're used to working with.
- Raster images (JPG, PNG, GIF) are made up of a fixed grid of pixels. Each pixel stores a specific color, and the total number of pixels is fixed at the moment the image is created. Zoom in past that fixed resolution, and you're just stretching those same pixels — which is what causes blurriness or a blocky look.
- SVG (Scalable Vector Graphics) files don't store pixels at all. Instead, they store mathematical descriptions of shapes — paths, curves, fills, and strokes — written in XML-based code. Because a shape defined by math has no fixed resolution, it can be scaled to the size of a billboard or shrunk to a favicon and remain perfectly crisp at every size.
How Image-to-SVG Conversion Actually Works
Converting a raster image into SVG is often called vectorization or image tracing. The process analyzes the pixel data in the original image, looks for areas of contrast and consistent color, and generates vector paths that approximate those shapes. This is fundamentally different from formats like PNG or JPG, where converting just repackages the same pixel data — vectorization has to interpret the image and rebuild it as geometry.
This is also why vectorization isn't equally effective on every kind of image. A logo with three flat colors and clean edges traces into a small number of clean paths. A photograph, by contrast, has thousands of subtle color gradients and no hard edges to trace — the result is either an enormous, messy SVG file or a version that has lost most of the photographic detail.
Why Convert to SVG?
- Sharp at any size. Ideal for logos, icons, and text-heavy graphics that need to appear on everything from a business card to a storefront sign.
- Smaller file sizes for simple graphics. A simple logo as an SVG is often just a few kilobytes, compared to a high-resolution PNG of the same image.
- Faster rendering on the web. Because SVGs are code rather than a grid of pixel data, browsers can render them very efficiently, and they stay sharp on high-density (Retina) displays without needing multiple image sizes.
- Editable after conversion. Since the file is XML-based text under the hood, colors, strokes, and shapes can be adjusted afterward in a vector editor.
Step-by-Step Conversion Process
- Prepare your source image. Vectorization works best with images that have clear lines and high contrast — think a logo on a plain background, not a busy photo. If your source image is a photo of a printed logo, cropping it tightly and boosting contrast first will noticeably improve the result.
- Upload the image. Most converters accept common formats like PNG, JPG, or BMP as the source.
- Let the tool trace it. The converter maps areas of the image into vector paths and shapes, reconstructing the image as scalable geometry.
- Review the result. Zoom into the converted SVG and compare it against the original — check that edges, curves, and any text are clean rather than jagged or overly simplified.
- Download and use. Save the
.svgfile and drop it directly into a website, document, or design project.
When SVG Isn't the Right Choice
SVG isn't a universal replacement for raster formats. It's a poor fit for:
- Photographs — portraits, landscapes, and anything with continuous tones and gradients don't vectorize cleanly.
- Highly detailed illustrations with many subtle color variations, which can produce very large, complex SVG files that are slower to render than a simple raster image would have been.
As a general rule: the simpler and more graphic the source image, the better it will vectorize.
Technical FAQ
Does every image convert well to SVG? No. Logos, icons, and simple flat-color illustrations vectorize well. Photos and complex, gradient-heavy images generally don't — the traced result either loses detail or becomes an unnecessarily large file.
Is there a limit on file size or resolution for the source image? Most converters handle standard image sizes without issue, but starting with a high-contrast, reasonably sized source image (rather than an enormous, low-contrast scan) will consistently produce cleaner results.
Can I edit the resulting SVG file? Yes. Since SVG is XML-based code, the output can be opened in any vector editor — such as Adobe Illustrator, Affinity Designer, or the free, open-source Inkscape — to change colors, adjust shapes, or edit strokes directly.
Will text in my image stay editable after conversion? No — text in a raster image gets traced as shapes, not as editable text characters. If you need editable text, it's better to recreate it directly in a vector editor rather than relying on tracing.
Why does my converted SVG look different from the original? Because vectorization approximates shapes rather than copying pixels exactly, very fine detail or soft gradients in the original may be simplified or lost. This is expected behavior, not a bug — it's the trade-off for having infinitely scalable output.
Final Thoughts
Vectorizing the right kind of graphic — logos, icons, and simple illustrations — is a genuine workflow improvement: it keeps your brand identity sharp and consistent across every screen size and print format. Just remember that SVG is a specialist tool, not a replacement for every image on your site — save it for the graphics that actually need to scale.